

 The camera is quite heavy for a dome at just over 2kg but is well packaged and has a very good level of construction. The solid base is designed with fixing holes isolated from the environmentally separated inner section. A side conduit fixing is provided at the rear of the base and two grommets are provided for the PoE network connection and additional Alarm/Audio and power cables. All necessary parts are provided and the 3 cable Alarm/Audio lead has a grommet pre-fitted.
Features
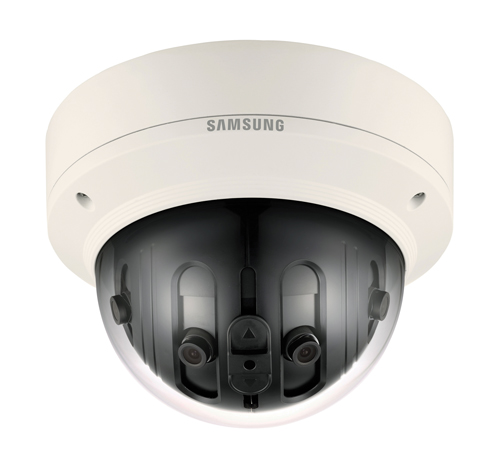
The dome is based on four camera modules fitted with 3.6mm F2.0 lenses giving a field of view of 180° x 84° with a maximum resolution of 4096 x 1800 pixels. The camera assembly when mounted allows for the device to be rotated through 355° and tilted from 0 to 60°.
Getting started
Three captive Torx screws hold the clear dome in place; there is no tether linking it to the base. Plugging in a PoE enabled network cable begins the domes start-up routine.
After about 50 seconds from start-up the internal fan started running, even with an ambient temperature of 24°C. With the cover removed this was relatively noisy but is unlikely to be noticeable in the majority of environments when fully installed. The vibration did penetrate however, so this may be something to watch out for if installing in quiet locations such as cash-offices.
By default, the camera is set to DHCP so was allocated an address within the subnet of the test network.
Software
The supplied disc has four folders named as Install Program, Network Setup Guide, Quick Guide and User Manual. The Install Program folder has two files, IP_Installer_V2.0.1.2.exe and Silverlight.dmg. The IP Installer program is a basic device discovery tool and has the advantage of being capable of running from the disk without installation onto the PC and immediately found the camera when run. The other file appeared to be a Microsoft Silverlight disk image, possibly for Apple MAC devices but no reference to it is given in any of the supplied manuals or website. The naming conventions are not helpful in this regard.
The other folders hold a well-produced 74 page User Manual, a 49 page Network Set-up Guide and an 18 page Quick Guide. These are presented in 14 language variants.
As there is no conventional SD analogue composite output from this camera you must ensure you have a suitable TVI test monitor for image position setting otherwise communicating with the control position will be necessary.
Operation
When first connected with a browser the camera requires a strong password to be set. Once this is entered the camera is presented in its basic viewing mode. It was very encouraging to see that the display entered a default video profile as a suitable plug-in was not detected. This ensures an image is immediately available rather than having to load firmware or drivers to gain an image.
While the user manual recommends IE, Firefox and Safari browsers as they fully support the Hanwha plug-in, the plug-in free viewer allows alternative browsers such as Edge and Chrome to be used albeit in default profile.
The test camera was tried with Edge, Chrome and Firefox on Windows 10, with all giving good image quality and set-up features but only the Firefox browser having the option to load the plug-in for full features to be available. Browser variants on Windows 8 and 7 also produced immediate images.
Both the Hanwha Plug-in free and the WebViewer displays give access to the full range of set-up features but only the WebViewer provides additional live display features and playback from the optional Micro SD on-board memory. A panorama view gives a quad split screen where the top left quadrant shows the whole view with the other three quadrants available for selected digital zoom views from the overall scene. The zoom range and position can be controlled within the quadrant or by selecting the relevant outlined box in the overview. This quad display can then be set to full screen mode for display purposes.
With the clear bowl removed there is ready access to the connectors and Micro SD card slot.
A single central slider moves all four sensors vertically to suit the camera angle of view required. The four sensors are mounted onto a solid casting that should ensure there is consistent image segment positioning geometry over time. The whole assembly runs relatively cool so this should extend product life.
A reset button is provided between the power and alarm/audio connectors. This restores factory settings and returns the DHCP setting to ‘On’ if held down for more than 5 seconds.
Read the full review in the April 2017 edition of PSI magazine