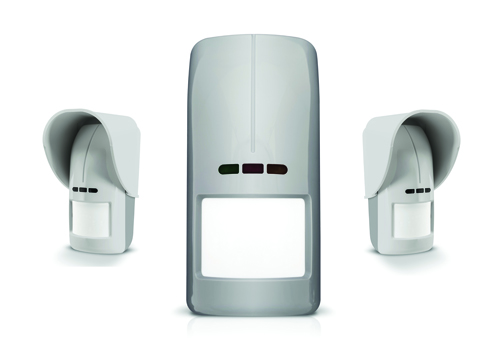
 The Opal Plus is a Grade 2 outdoor Dual-Tech (Passive Infrared and Microwave) detector with anti-masking and remote configuration. An in-built dusk sensor can be used for home automation use. The detection angle is up to 100° with a maximum range of just over 15 metres. It is supplied with additional brackets for pivoting or corner / angle mounting with colour options of white or grey for the UV resistant housing.
Getting started
A single captive cross head screw holds the top cover in place and once the cover is removed all of the connectors and controls are visible. Two cross head screws hold the PCB in place by two key-hole slots that when released allows the board to be removed from the rear casing. The plastic back panel has a layer of thermoplastic elastomer covering all mounting hole drill-outs and the cable entry point to help resist moisture penetration of the IP54 rated enclosure.
There are 11 screw terminal connectors along the top of the circuit board. These are of good size to suit a standard terminal driver and are identified from left to right as follows: AM, AM, TMP, TMP, NC, NC, COM, +12V, LED, SVCE & D/N.
Where AM = Anti-masking normally closed relay output, TMP = Tamper output (normally closed relay output), NC = Alarm Output (normally closed relay contact), COM and +12V are the power supply input pins, SVCE = remote control configuration set and D/N = Dusk sensor output (open collector circuit).
The “Manual” is presented on a large folded 600 x 420mm sheet with small light-grey text on white, with seven different languages sharing the space so it is not ideal for field use. The website pdf downloads do allow you to copy and paste the language of interest however, so it is worth spending some time before installation to produce your own document with screen captures of any diagrams you may need.
The detector may be mounted directly on to a wall or at a 45° angle using the corner mounting bracket. Alternatively, the pivoting ball-joint racket can be used, and this allows the detector to be mounted with a range of 90° horizontal and 60° vertical. When using one of these brackets, the supplied microswitch can be fitted and connected in series with the internal tamper switches or wired to a separate tamper circuit.
Set-up options
The three buttons on the circuit board are Minus, Plus and Mode to the right. Pressing the Mode button for more than two seconds enters the configuration routine. This allows changes to be made individually to the microwave and PIR sensors and to change the light level at which the dusk sensor switches. The mode button is used to select which element to configure and the Minus and Plus button are used to increment or decrement the sensitivity or setting as appropriate. Holding the Mode button for a further two seconds returns the device from its configuration with all settings saved in non-volatile memory.
Read the full review in the August 2020 edition of PSI magazine


