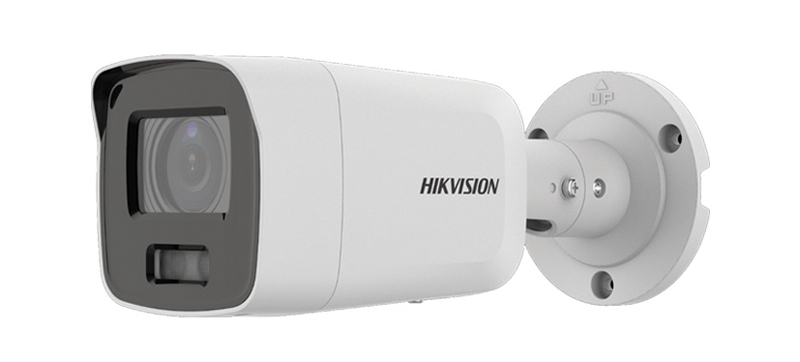
 The Hikvision DS-2CD2087G2-LU camera is an IP67, 8MP bullet camera from the Hikvision ColorVu range. It is designed for 24-hour colour imagery with warm-white visible LED illumination support for zero light scenes. A wide 2.8mm lens version is standard with 4mm and 6mm options. The ColorVu system advantage is built around the use of the latest very high-performance sensors (in this case 1/1.2” CMOS) coupled with large aperture F1.0 lenses.
Getting started
The camera is PoE (maximum 8.5W) or 12v DC powered. It is given an operational temperature rating of -30° to 60°C. The Quick start guide gives limited information on mounting the camera and fitting of a micro-SD card with a QR code provided for “Activation” and access to the camera. Alternatively, the Hikvision SADP software can be downloaded and this provides a discovery function and can be used to activate the camera and change its IP address. DHCP is disabled by default.
Browser connection gives access to the live view from the camera along with configuration menu access. At first use the camera must be “Activated” to set a secure password. This can be set through the browser if not via the QR code or SADP route.
At the right of the browser window banner line is a button to Download the necessary Plug-In. Once loaded and executed this gives access to Playback and Picture options in addition to the basic Live View and Configuration and allows the display to remain on Stream 1.
To the right of the Live window are three icons for “PTZ” controls that are inactive for this model, “General” settings for Display, OSD and Video/Audio then a “VCA” tab for video content analysis resource allocation. Ideally these will be set through the Configuration menu settings.
The camera can be directly wall or ceiling mounted or attached to an optional Junction box, Corner or Pole mounting bracket. A small cover plate in the underside of the body is held in place with two security screws and gives access to the Micro SD card slot and a reset button (>10 seconds at power-up for full reset).
Menu options
From the browser the Configuration menu can be selected and lists the following options at the left of the window:
Local: Live View parameters, Record File Settings, Picture and Clip Settings.
System: System Settings, Maintenance, Security, User Management.
Network: Basic and Advanced Settings.
Video / Audio: Video, Audio, ROI, Display Info. On Stream, Target Cropping.
Image: Display Settings, OSD Settings, Privacy Mask, Image Parameters Switch.
Event: Basic Event, Smart Event.
Storage: Schedule Settings, Storage Management.
All menu options are reasonably intuitive, however some of the options store immediately while others require the Save button to be pressed. As this is at the bottom of the window it may be missed so care is required to ensure all changes are permanently stored.
The browser view supports extensive help files for all functions but also includes details that are only available on other models such as RS485 communications and alarm inputs that are not provided on this camera.
Read the full test in the January 2021 edition of PSI magazine here

