


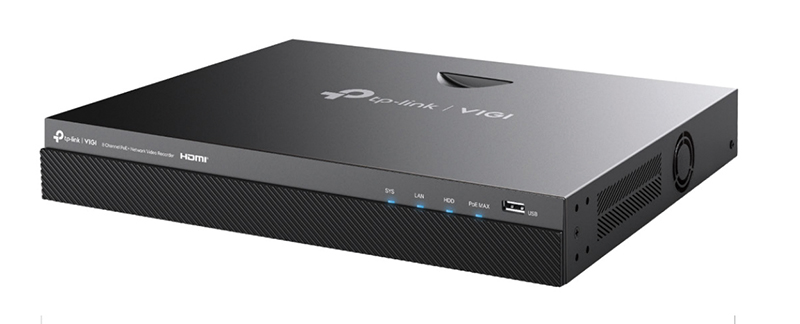
While probably best known in the UK for its networking products and low-cost TAPO range of cameras and home automation products, the VIGI system provides a business surveillance range of products and solutions. The NVR2008H-8MP is an 8-channel NVR from a product range of recorders from four to 32 channels. While supplied without hard drives, it has a capacity of up to 32TB.
Getting started
As the 2008H NVR is supplied without a hard drive, the first task is to fit suitable storage. The cover can be slid off after removing four base and one rear, crosshead screws. The case can accept one or two hard drives, and these can be in 2.5” or 3.5” formats. The accessory pack includes mounting screws along with the power and Sata leads.
Rear panel connectors include 6 alarm inputs and 4 alarm outputs, audio in and out, independent HDMI and VGA outputs, a USB 3 port, eSATA, 1GB LAN port and 8 x PoE enabled camera ports. A USB 2 port on the front panel can also be used for mouse and / or keyboard input.
Brackets are provided for rack mounting, though rear support may be required depending on weight with drives fitted.
Operation
Once powered the NVR will run through its initial startup sequence. After around 8 seconds the TP-Link logo appears followed by a Smart Initialisation screen after one more minute. This allows the device to be named, for any installed hard drive(s) to be configured and for general account settings including NVR and camera passwords to be set. A new password must be entered at first use, and you are encouraged to use a strong password by an on-screen prompt. Any discoverable cameras including ONVIF protocol devices are shown at the bottom of the screen.
Once the hard drive is initialised and an internet enabled network connection is made the details are confirmed. The activation process then follows, starting with setting the new device password with options for recovery. Time, Date and NTP settings then follow, with a range of alternative NTP sources offered.
Once the hard drive settings are confirmed, the available camera list is displayed for selection and adding. ONVIF compatible cameras can be simply added by entering their address and password details and manually added into the system.
QR codes are then presented, allowing access to the VIGI app download along with the QR code of the NVR allowing VIGI app access to the recordings.
The screen then returns to display mode showing any cameras that have been enabled.
A simple on-screen menu is accessed using an attached mouse.
Read the full review in the January 2026 edition of PSi magazine