


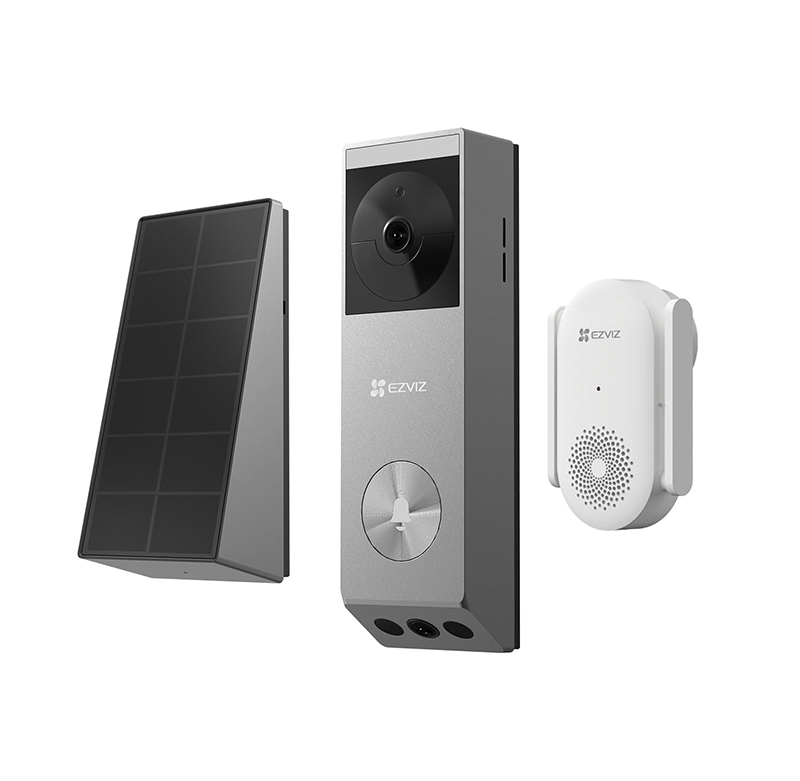
The EP3x Pro is EZVIZ’s first dual-lens video doorbell with detection features and a solar charging option. Combining a 2K main camera and a 1080p bottom camera, the battery powered EP3x Pro detects both moving people and delivered packages to help users watch over a front door. Available in kit format, which contains all items required for the full installation, it comes with built-in 32GB eMMC storage capacity and a solar panel. Also included as part of the kit is the EZVIZ CH1 chime device and all the fixtures and fittings for each unit.
Getting started
The easiest way to install the device is to follow the instructions on the dedicated EZVIZ app however there is a 26-page manual available via the enclosed QR code. The app can be downloaded via the App Store or Google Play. The user selects their region and is then invited to sign in or create a new account. For a new account the user will need to enter an email address, password and verify the email with a security code.
The doorbell should then be charged using the enclosed cable and a 5V 2A plug (not included). Once ready the device can be added to the app by simply scanning the QR code on the back of the unit. This quickly registered the doorbell and then it is time to connect the unit to the Wi-Fi network. The unit picked up the signal without any issues and users are then invited to change the passcode of the unit itself – adding an extra layer of protection.
The solar panel is then added to the set-up (it should not be used if the doorbell is to be hardwired). The panel can be cited in any position around the doorbell, however it is advised that it is not ideal if situated below. The backplate of the solar panel is removed to enable the wire connector to fit through the relevant hole in the backplate depending on its position next to the doorbell. The panel is then connected to the doorbell using a small screwdriver.
Before replacing the backplate to the solar panel it is necessary to consider how the unit will be attached to the wall. If it is via the double-sided adhesive patch, then the cable is simply fed through the correct hole in the backplate which can then be reattached. If the solar panel is to be screwed to the wall then it will require the backplate to be used as the template for the drill positions which need a 6mm drill bit. All screws/plugs and paper drill templates are included. Do not attached the solar panel to the wall yet.
The doobell is attached to the wall, again using either the double-sided adhesive on the backplate or using screws with the backplate acting as the template. There are two mounting brackets included in the kit, one is for facing the doorbell straight forward while another fits behind this to hold the doorbell at an angle. This is attached to the regular bracket via small screws.
Finally, add the solar panel to its backplate aligning the cable through the relevant slot in the backplate. Any excess cabling can be wound inside the solar panel body.
The chime (CH1) is added to the app by scanning its QR code once the unit is plugged in.
Read the full report in the January 2026 edition of PSi magazine